
End-Effectors: Selection and Integration for Warehouse Automation
Definition
This guide explains how to select and integrate end-effectors into automated warehouse systems, covering use-case analysis, compatibility, sensing, control and deployment strategies.
Overview
End-Effectors: Selection and Integration for Warehouse Automation
Selecting the right end-effector and integrating it into a warehouse automation solution are pivotal steps that determine system performance, uptime and total cost of ownership. Successful selection balances product characteristics, throughput targets, environmental constraints, safety requirements and integration complexity. This guide provides a structured approach to specify, procure and integrate end-effectors into robotic systems for logistics.
Step 1: Define the use case precisely
- Inventory profile: list SKUs by size, weight, material, geometry and surface finish (porous, glossy, irregular).
- Task profile: pick-and-place, singulation, depalletizing, palletizing, case packing, or secondary operations like labeling or scanning.
- Throughput and cycle requirements: picks per hour, average move distance, allowable cycle time per pick.
- Operational environment: ambient temperature, dust, moisture, presence of food or consumer goods requiring sanitary design.
Step 2: Map product characteristics to end-effector technologies
- Flat, smooth surfaces → vacuum/suction systems.
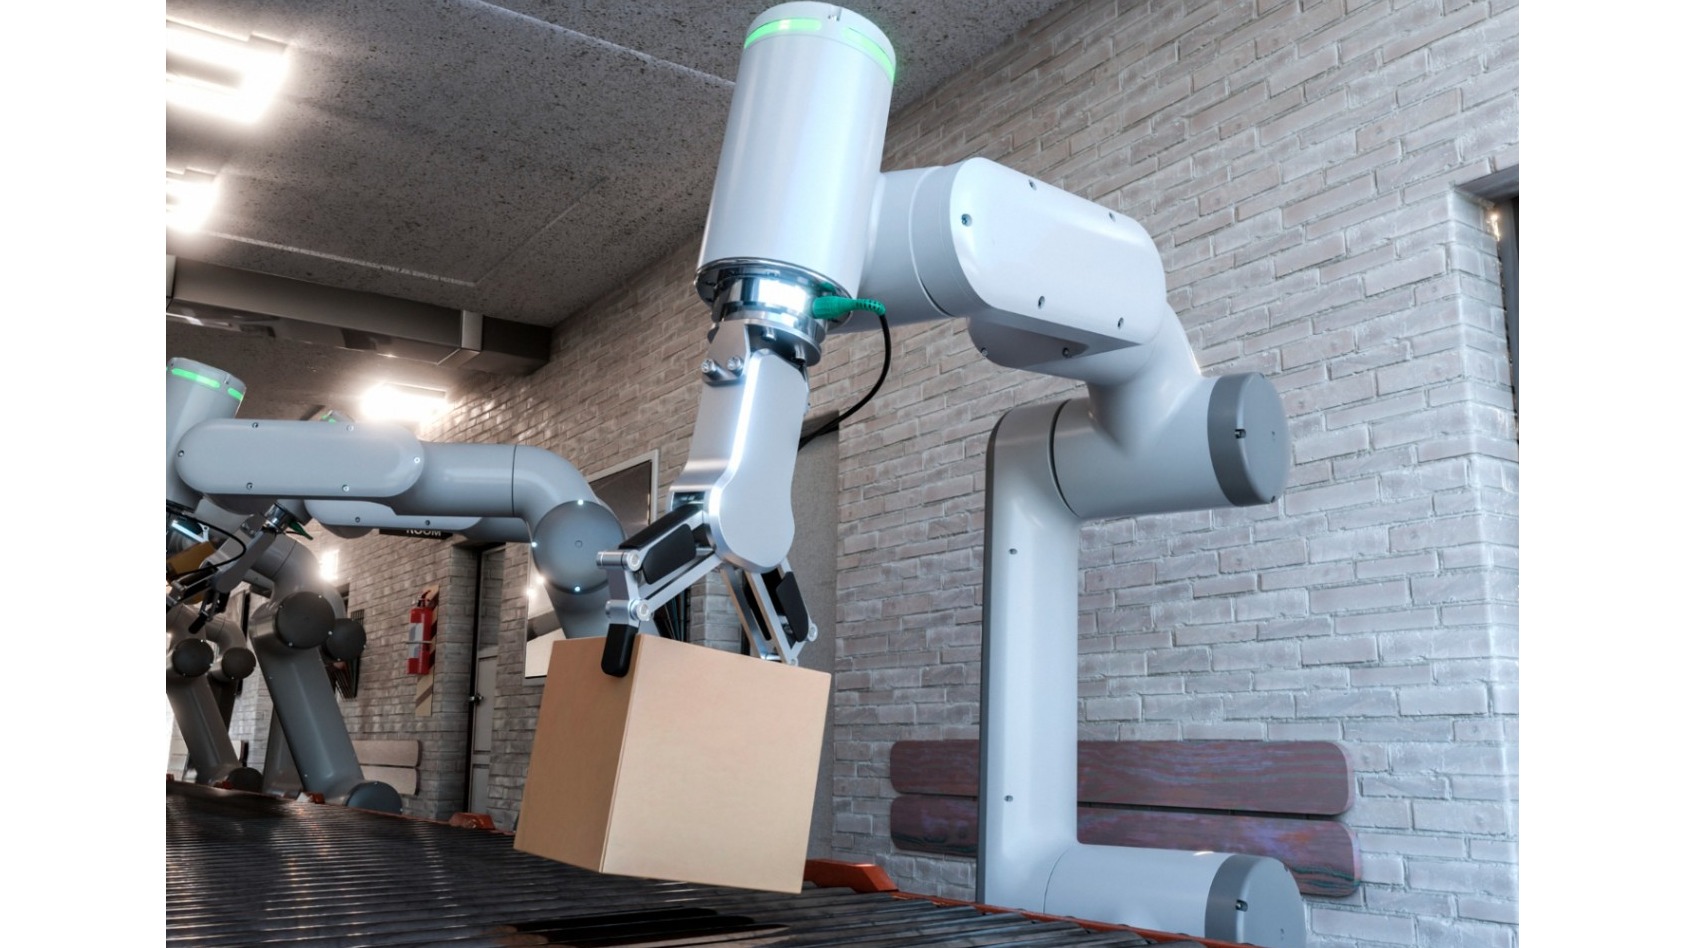
- Rigid, uniform boxes → parallel-jaw grippers for secure mechanical grasp.
- Fragile or irregular shapes → soft grippers or adaptive crescent-finger designs.
- Ferrous metal components → magnetic grippers (ensure surface contact and coating compatibility).
- Mixed SKU environments → hybrid systems or tool changers for flexible operations.
Step 3: Verify robot compatibility and mechanical integration
- Mounting interfaces and payload: confirm mechanical flange compatibility and that the robot arm can carry the end-effector plus the heaviest handled object.
- Reach and center of gravity: ensure the tool does not exceed reach envelopes or produce excessive moment loads that reduce repeatability.
- Quick-change capability: where multiple tools are required, select standardized tool changers to reduce downtime.
Step 4: Electrical, pneumatic and control integration
- Power and I/O: determine voltage, current, pneumatic pressure and flow requirements; design for proper connectors and cable routing to avoid wear during motion.
- Communication protocols: ensure the end-effector or its controller can communicate with the robot controller and plant network—common options include EtherCAT, Modbus, CAN, IO-Link and standard Ethernet.
- Sensing and feedback: select force/torque sensors, vacuum sensors, proximity switches and vision feedback to support reliable operation and exception handling.
Step 5: Integrate perception and motion planning
- Vision systems: cameras and 3D sensors provide object location and pose; ensure calibration routines and lighting address variable packaging reflectivity and ambient conditions.
- Adaptive control: use force control and compliance to tolerate minor misalignments and avoid damaging items while maintaining throughput.
- Software stacks: ROS, vendor SDKs or proprietary controllers must support the end-effector’s commands and feedback, and integrate with WMS/ERP systems for task sequencing and inventory reconciliation.
Step 6: Simulate and pilot
- Digital twins and offline programming: simulate reachability, cycle times, and collision checks before physical commissioning.
- Pilot runs: deploy in a controlled environment with a representative SKU mix to quantify pick success rates, mean time between failures and throughput under realistic conditions.
Procurement considerations
- Off-the-shelf vs custom: off-the-shelf end-effectors reduce lead time and cost for standard tasks, while custom tooling is often required for complex or unique product profiles.
- Service and spare parts: choose vendors that provide rapid replacement parts and clear documentation; maintain critical spares for vacuum pumps, seals, suction cups and soft fingers.
- Scalability: design for modular expansion—tool changers, multi-robot coordination and standardized interfaces reduce future integration costs.
Case example
In an e-commerce fulfillment center handling apparel and small electronics, operators selected a hybrid end-effector combining suction cups for polybags and adaptive fingers for boxed items. Vision-guided localization fed the robot an approximate pose; the end-effector used vacuum confirmation sensors and a light-force tactile sensor to confirm a successful pick. A modular tool changer allowed the same robot to switch to a labeling head during peak hours. After a 6-week pilot, pick success rates improved from 88% (manual) to 97% automated, while average cost per pick decreased when amortized over a 3-year horizon.
Integration checklist
- Define SKU and task requirements explicitly.
- Confirm robot payload, reach and mounting compatibility.
- Specify required sensors, communications and safety interlocks.
- Simulate and run pilot tests with representative inventory.
- Plan for spares, maintenance and operator training in procurement contracts.
By following a structured selection and integration approach, warehouses can maximize uptime and throughput while limiting rework and unplanned costs associated with incompatible or underperforming end-effectors. The right tooling, integrated with perception and control systems, turns robotic manipulators into reliable, high-utilization assets within a modern logistics operation.
Sources And Additional Reading (3)
- Vacuum Gripping Systems
“Vacuum Gripping Systems.” Schmalz, https://www.schmalz.com/en-us/vacuum-technology-for-automation/vacuum-components/vacuum-gripping-systems/.
- Robot End-of-Arm Tooling
“Robot End-of-Arm Tooling.” OnRobot, https://onrobot.com/us/products.
- Robotic End Effectors
“Robotic End Effectors.” ATI Industrial Automation, https://www.ati-ia.com/products/eoat/eoat.aspx.
🔗
Related Terms
6150 EUR Customs Cliff
The "150 EUR Customs Cliff" refers to the import-value threshold—commonly applied in the EU—above which goods become lia...2D Imager Scanner
A camera-based scanner that captures both 1D and 2D barcodes (such as QR and Data Matrix) from various angles and surfac...36 x 36 pallet
A smaller square pallet used for compact loads, store displays, small shipments, or specialty products.360 Product View
An interactive or image-based view that lets shoppers see a product from all sides.3D Model
A digital three-dimensional representation of a product or component.More from this term
Looking for a 3PL?
Compare warehouses on Racklify and find the right logistics partner for your business.