Warehouse Layout Strategies That Transform Operations
Definition
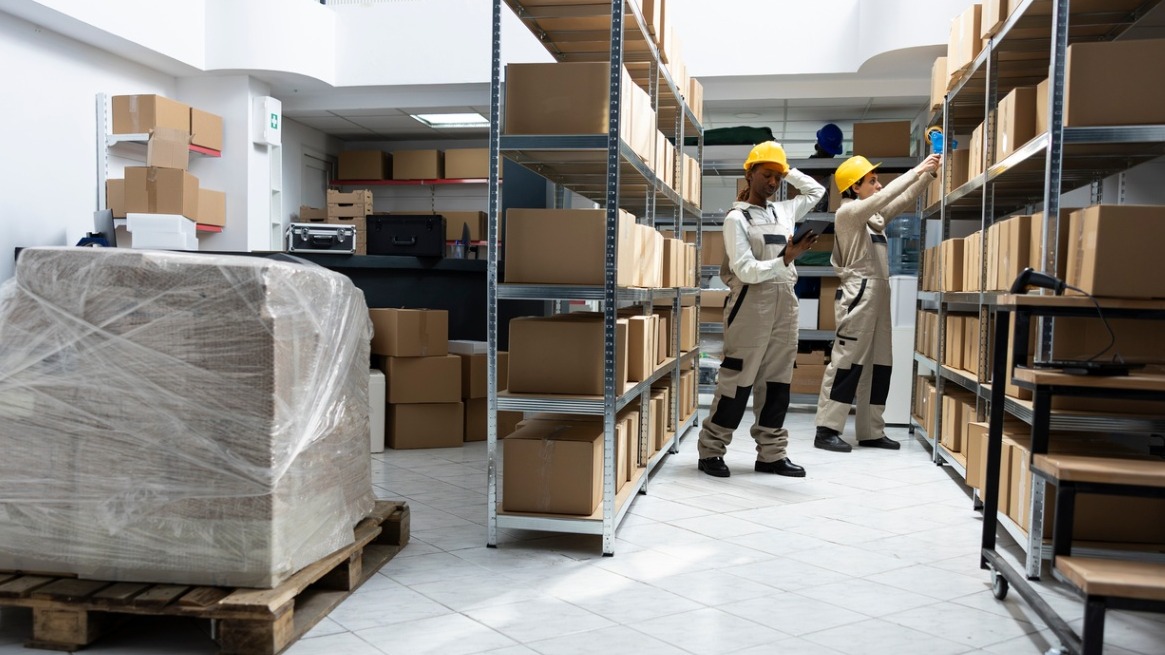
Warehouse layout is the planned arrangement of storage areas, aisles, workstations, loading docks, and equipment within a warehouse. It is designed to optimize material flow, storage density, picking efficiency, safety, and operational costs by aligning physical space with workflow and handling requirements.
Overview
Warehouse layout describes how space, equipment, and work processes are organized inside a warehouse to support receiving, storage, picking, packing, shipping, and returns. For beginners, think of layout as the blueprint that determines where goods move and where people and machines perform tasks. A well-designed layout removes bottlenecks, shortens travel paths, and creates predictable workflows that boost productivity and reduce errors.
Why layout matters
Layout drives operational cost and service levels. Poor layout increases travel time, creates congestion at staging and packing areas, and can raise labor costs and order-cycle times. Conversely, smart layouts improve picking rates, reduce damage and returns, and make it easier to scale as volumes change or automation is added.
Core principles of effective warehouse layout
- Flow first: Design for smooth, mostly uni-directional flow from receiving to storage to shipping to avoid cross-traffic and chokepoints.
- Activity zoning: Keep receiving, storage, picking, packing, returns, and shipping zones distinct but logically placed relative to each other.
- Slotting optimization: Place fast-moving SKUs close to picking and packing areas to minimize travel. Group similar items or items often ordered together.
- Right-sizing storage: Use a mix of storage types (pallet racking, shelving, bins, mezzanine) based on volume, unit size, and turnover.
- Flexibility and scalability: Design for seasonal peaks and business growth—use modular racking and configurable workstations.
- Safety and ergonomics: Provide clear aisles, adequate lighting, safe access to high racks, and ergonomic workstations to reduce injury and downtime.
- Data-driven decisions: Base layout choices on SKU velocity, order profiles, and throughput requirements rather than assumptions.
Common layout configurations
- I-shaped: A straight-line flow from receiving at one end to shipping at the other—simple and effective for high-throughput operations.
- U-shaped: Receiving and shipping on the same side, creating a loop that shortens internal travel and centralizes support areas.
- L-shaped: Useful for constrained building footprints where flow can move around a corner without backtracking.
- Modular/clustered: Divides the warehouse into independent pods or cells for specific product families or customers—great for multi-client fulfillment.
Step-by-step implementation
- Assess current state: Map workflows, measure travel distances, identify bottlenecks, and collect SKU velocity data (ABC analysis).
- Define objectives: Set targets for pick rate, order lead time, space utilization, and safety metrics.
- Design zoning and flow: Allocate space for receiving, QA, putaway, reserve storage, picking (fast, bulk, large), packing, staging, and shipping.
- Choose storage types: Match racks, shelving, and bins to SKU size and turnover. Consider narrow aisle, very narrow aisle (VNA), or flow racks if appropriate.
- Optimize slotting: Place top-velocity SKUs in forward picking slots and group frequently co-ordered SKUs.
- Plan picking routes: Design pick paths (zone picking, batch picking, pick-and-pass) to minimize travel while maintaining accuracy.
- Integrate technology: Use WMS, pick-to-light, voice picking, or mobile devices to guide workers and track inventory. Simulate layouts in software if possible.
- Pilot and iterate: Test layout changes in a pilot area, measure results, and refine before full roll-out.
Practical examples
- Small e-commerce operation: Implement a U-shaped layout with fast-moving SKUs in forward pick modules near the packing area. This reduces picker travel and cuts order cycle time during peak periods.
- Large distribution center: Adopt a modular pod system—each pod contains its own picking, packing, and staging to support multiple customers and improve throughput and accountability.
- Cross-dock hub: Minimize storage space and arrange inbound docks directly across from outbound docks to speed transfers and eliminate unnecessary putaway.
Key performance metrics to monitor
- Pick rate and lines picked per hour
- Average travel distance per pick
- Order cycle time (order to ship)
- Space utilization (usable storage vs. footprint)
- Labor cost per order
- On-time shipping and order accuracy
Best practices
- Use real data for slotting and layout decisions instead of intuition.
- Design for people first—good ergonomics reduce fatigue and errors.
- Reserve flexible buffer areas for peak volumes and unexpected surges.
- Plan for automation in advance—leave space and power for conveyors, sorters, or automated storage/retrieval systems (AS/RS).
- Maintain clear visual cues (floor markings, signage) to speed navigation and improve safety.
Common mistakes to avoid
- Ignoring SKU velocity: Putting slow and fast movers together increases travel time.
- Overfilling aisles or placing bulky equipment in high-traffic zones, which creates chokepoints.
- Designing only for current needs—lack of scalability leads to costly rework as volumes grow.
- Underestimating the impact of returns processing—returns can create a separate workload that needs dedicated space.
- Not integrating with software—without WMS guidance, even a good physical layout will underperform.
Final notes
A transformative warehouse layout balances space efficiency, labor productivity, safety, and flexibility. Start small: collect data, make targeted changes (like regrouping top SKUs or creating a forward pick zone), measure results, and scale improvements. Over time, continual refinement—paired with the right technology—turns layout from a static floor plan into a strategic advantage.
More from this term
Looking For A 3PL?
Compare warehouses on Racklify and find the right logistics partner for your business.
Processing Request